Tile
Our tile job consisted of the mudroom, the laundry room, the kid's bathroom and the master bathroom. Back before we started building the house, I had planned on doing all of the tile work myself. I have done tile in the past, so I was not too intimidated by the job with one exception - the shower in the master bath room.
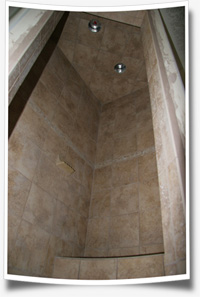
Our master shower is a steam room, as a result, it has to be absolutely water and vapor tight - not just the shower pan, but the entire unit. I did a bit of research on the internet about the process of building a tile shower, particularly, a tile shower that would also serve as a steam room. Very quickly I realized this was not a job for the average do-it-yourselfer (i.e. me). It is a rather technical task, not anywhere as simple as laying tile on a floor, and one or two small mistakes could lead to a repair job that involves the use of a sledge hammer.
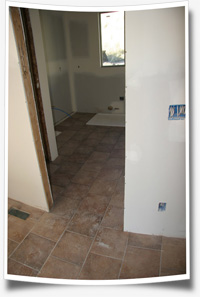
So, we hired a pro to do the work, but still decided to do a part of the tile work ourselves (the mud room and the laundry room) which was a relatively small job. For the part that we did, we used Hardibacker as the foundation for the tile, mudded and screwed to the subfloor, which took about a day to install. Laying the tile took another full day, and then a few additional hours to grout. After a couple of weeks, we will go back and seal the grout.
The work of our tile contractor initially went a bit slow because the drywall contractor was not completely done when the tile contractor started. As a result, he could only work in the master shower, and could not really spread out his tools to work.
To build the shower, our contractor used a combination of Hardibacker, Ditra mat, PVC membrane, mud and some type of vapor proofing membrane. It took him several days just to prep the shower for tile, and then another couple of days to lay the tile in the shower and on the floor.
The steam generator unit that we purchased is from Kohler. We have not run it yet, so I don't know how well it works, but I will add additional information down the road after we get a chance to use it.
Since we had a radiant heating system in the basement floor, the plumber ran a zone up from the basement and looped it through the exterior walls behind tiles in the shower tub in the master bathroom. He suggested this as a relatively inexpensive option since we already had the infrastructure for the system in place (i.e. boiler, controls, etc.) We hope that this will do a decent job of radiating the heat into the tub and shower areas. But, I don't really know how well it will work. I haven't talked to anyone who has done a similar installation, so we will have to wait to see how effective it is.
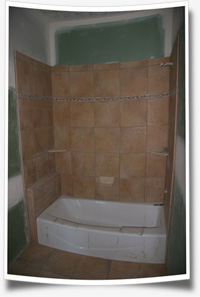
In the kid's bath, we did a tile floor and a tile tub surround which turned out very nicely. We did different colors and styles of tile in each room - we were tempted to do every room with the same tile, but we decided that doing each room with its own tile would make it feel a bit more interesting and custom. We are really happy how it turned out - we cannot say enough good about our tile contractor & his sons who work with him, they really did a great job.
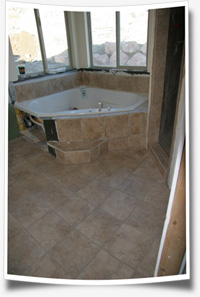
We have a cabinet unit that sits right next to the tub, so the contractor plans to leave the tiles that will butt up against the cabinetry off until the cabinets are set so that he can set the tile right where it needs to be. Also, just below the windows we are waiting for a few additional trim pieces - the contractor will set those at the same time he finishes the tile next to the cabinet.


